1. Purpose
This SOP explains the step-by-step process for installing Apni prerna on Linux PCs using the installation command provided.
2. Pre-Requisites
Before starting, ensure:
- The Linux PC is powered on.
- A stable internet connection is available.
- You have the installation link/command provided by the central team.
- Use administrator access on the system.
Step 1: Logout from Student Account
- If you are currently logged into the AP_student account, click on the Logout button.
- Wait until the login screen appears.

Step 2: Log in as Admin
- On the login screen, select Apni pathshala admin

- Enter the following credentials:
Password: @pathshala@1947 - Click Login.
Step 3: Number Your PCs
Assign a number to each PC using stickers or masking tape. Example: PC 1, PC 2, PC 3…. Write the number clearly on the CPU or monitor.
Step 4: Find the Serial Number for Each PC
For each PC:
- Turn it ON and wait for it to fully start.
- Open the Terminal on the Linux PC.
- Shortcut: Press Ctrl + Alt + T
- Type the following command and press Enter:
sudo dmidecode -s system-serial-number
- Then type an admin password
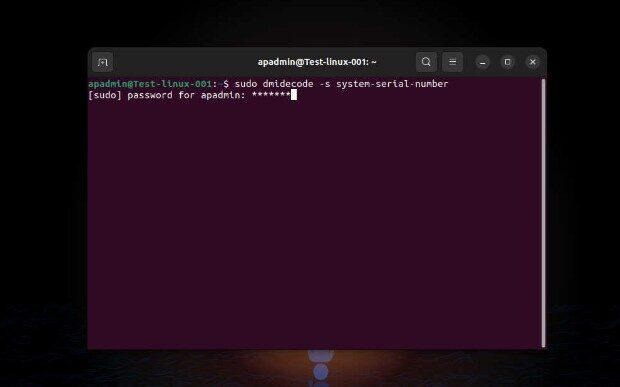
- The system will show the Serial Number.
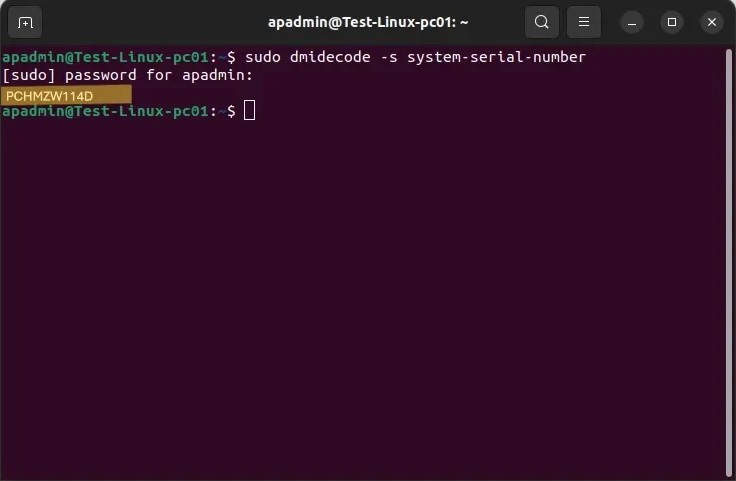
6. Note it down along with the PC number.
Step 5: Create and Share an Excel Sheet
1. Open Google Sheets or Excel
2. Make 2 columns: PC Number and Serial Number
3. Save and share this sheet with the ApniPathshala team on WhatsApp or email.
Mail ID: [email protected]
| PC Number | Serial Number |
| PC 1 | ABC1234567 |
| PC 2 | XYZ9876543 |
| … | … |
The AP Tech Team will share a script or download link
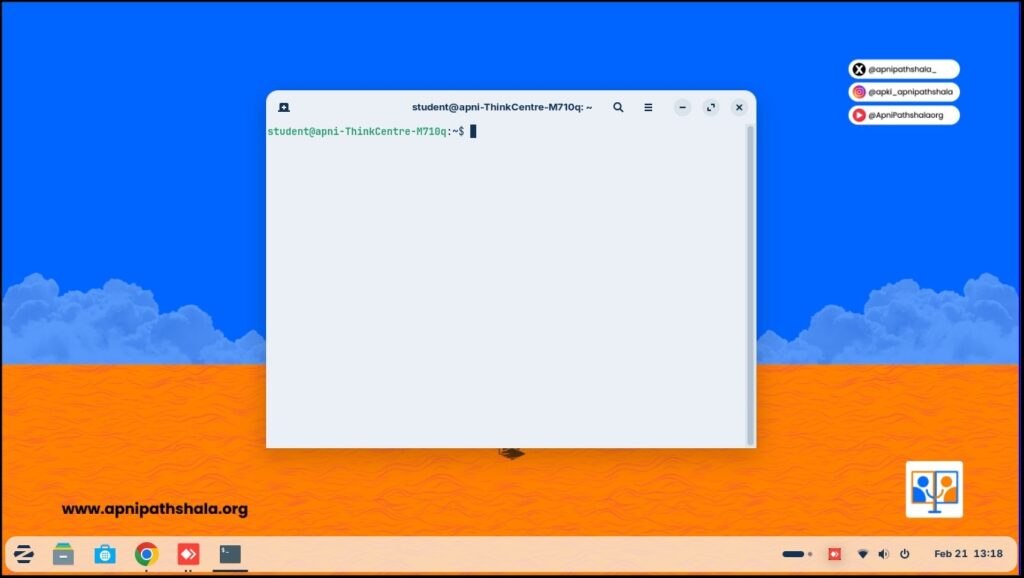
Step 1: Open the Terminal (Command Line)
Method 1: Using Keyboard Shortcut
- Press Ctrl + Alt + T
→ The Terminal window will open.
Method 2: Using Application Menu
- Click on Applications (or Show Apps).
- Search for Terminal.
- Click on Terminal to open it.
You should now see a black window with a blinking cursor. This is the command line interface.

Step 2: Copy the Installation Command
- Open the message/email where the installation command was shared.
- Select the full command carefully.
- Right-click → Copy
OR - Press Ctrl + C to copy.
Make sure the entire command is copied correctly (no missing characters).
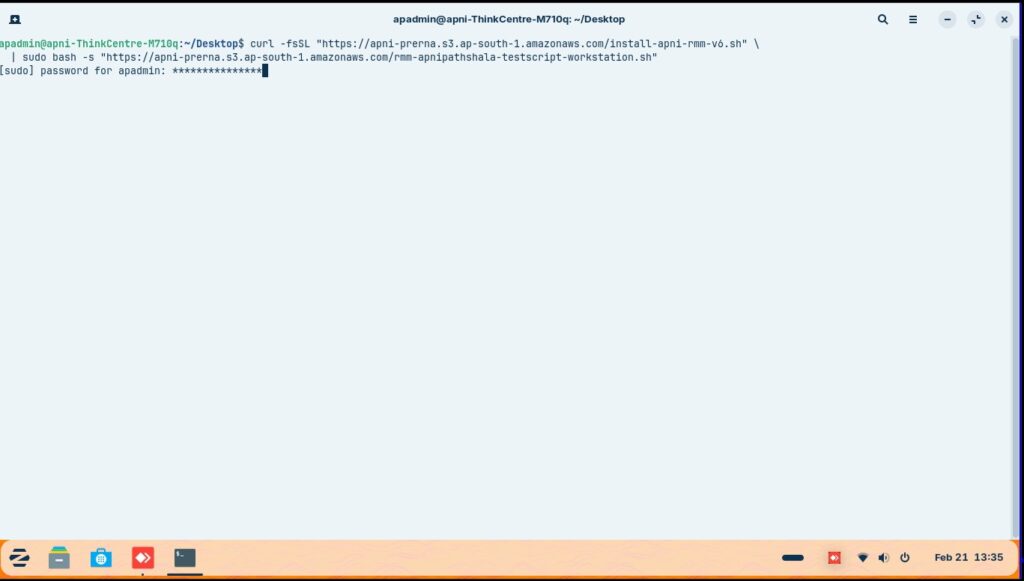
Step 3: Paste the Command in Terminal
- Go to the open Terminal window.
- Right-click inside the terminal → Click Paste
OR - Press Ctrl + Shift + V (Paste shortcut in Linux terminal).
The command should now appear in the terminal window.
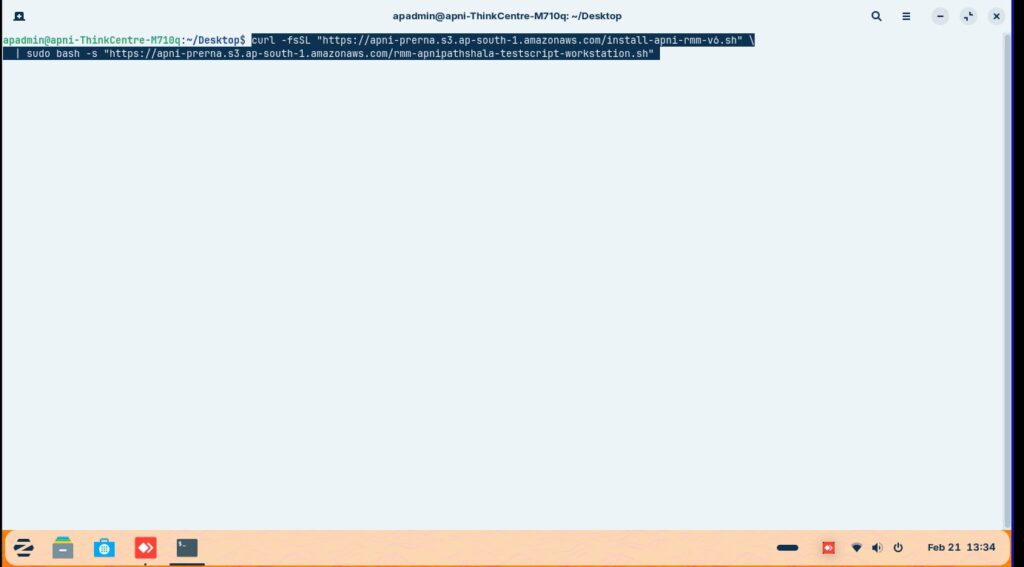
Step 4: Execute the Command
- After pasting the command,
- Press Enter on the keyboard.
The installation process will begin.
Step 5: Provide Password (If Asked)
If the system asks:
password for username:
- Type the system password.
- Password: Admin@123
- Press Enter.
Note:
- While typing the password, nothing will be visible (no stars or dots). This is normal.
- Just type carefully and press Enter.
Step 6: Wait for Installation to Complete
- The system will download and install TRMM.
- Do not close the terminal during installation.
- Wait until you see a message such as:
- Installation complete
- Setup successful
- Process finished
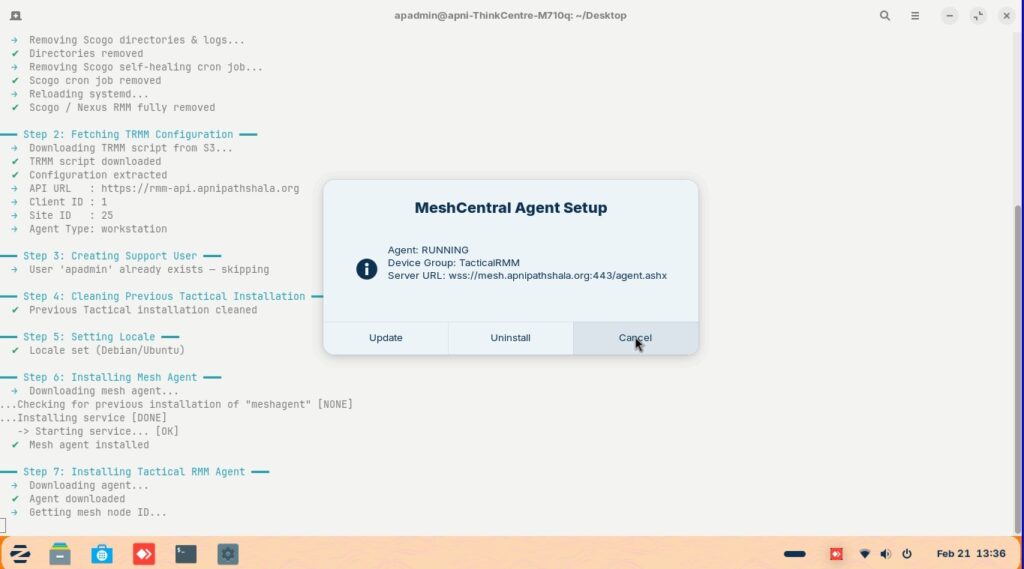
Press cancel
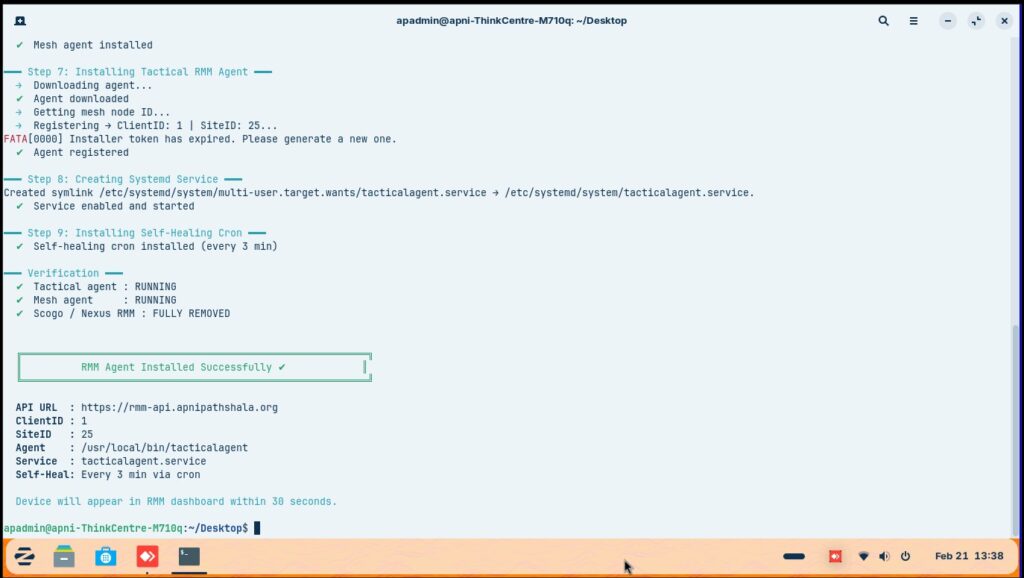
Step 7: Verify Installation
After installation completes:
- Check if TRMM appears in:
- Applications menu


